Ostendstraße 17
Pfungstadt 64319
Germany
Viprotron GmbH

Find us on:
Viprotron is the technology leader for highly efficient glass scanners. We develop powerful and future-oriented quality scanners at the highest technical level.
Almost 500 glass inspection systems from Viprotron are in use worldwide and perform exactly what every glass processing company expects: Absolute reliability in the quality control of glass processing, resulting in high quality, reduced scrap and optimized workflows that save time and money. Thus, we help our customers to consistently meet or exceed the continuously increasing quality requirements in the market.
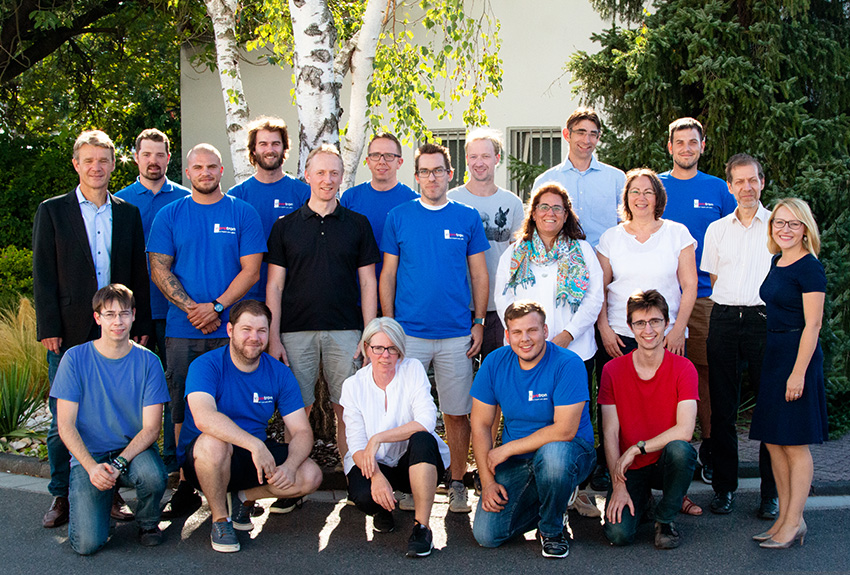
At the Pfungstadt site near Darmstadt, Germany, we have been developing and producing for our worldwide customers for more than 15 years. The basis of our success is our broad technical know-how, our solution and service orientation and the common motivation for further development.
It is important to us that our customers and our young team always take center stage. In order to provide optimal service and support to our large number of customers in the USA and Canada, Viprotron has opened a branch office in Colorado/USA.
OUR MISSION
Based on our corporate values, we have developed guidelines that give direction to each employee on how we develop, install and maintain each of our systems.
Commitment to quality – Our mission is to provide optimal, time and cost-saving quality control within glass manufacturing and processing.
Passion and perfection – We love glass as well as fast and efficient work flows. Our products reflect these values.
Individual and ready to use – Each system is adapted to its individual function within the production line and when installed is instantly ready to use.
By people for people – Our team is a reliable partner for our customers and understands the processes in their production lines.
Thinking ahead and being involved – We assist our customers with high motivation from the early planning, to the execution of the installation, all the way through to service and post-installation support.
Responsibility – We have an obligation to contribute our input into optimizing and preparing glass manufacturing and processing for the future.
Products
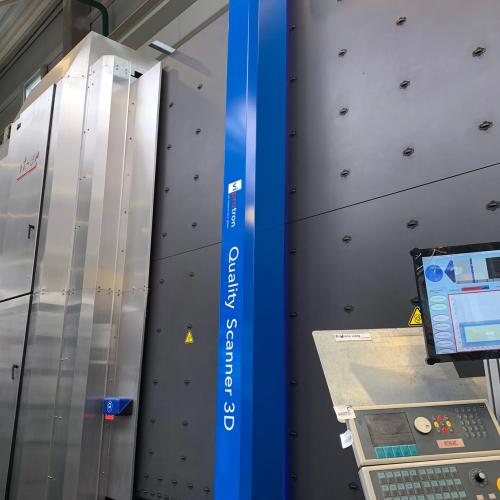
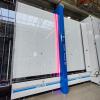
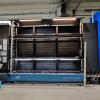
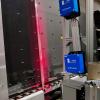
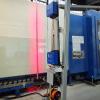
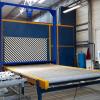
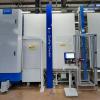
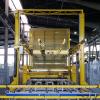
This efficient quality control machine is incorporated directly after glass washing and detects reliably all different types of glass defects – Making it ideal for a profitable glass production and processing.
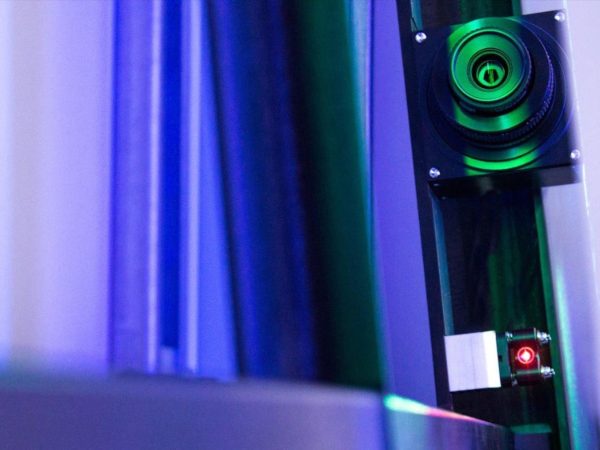
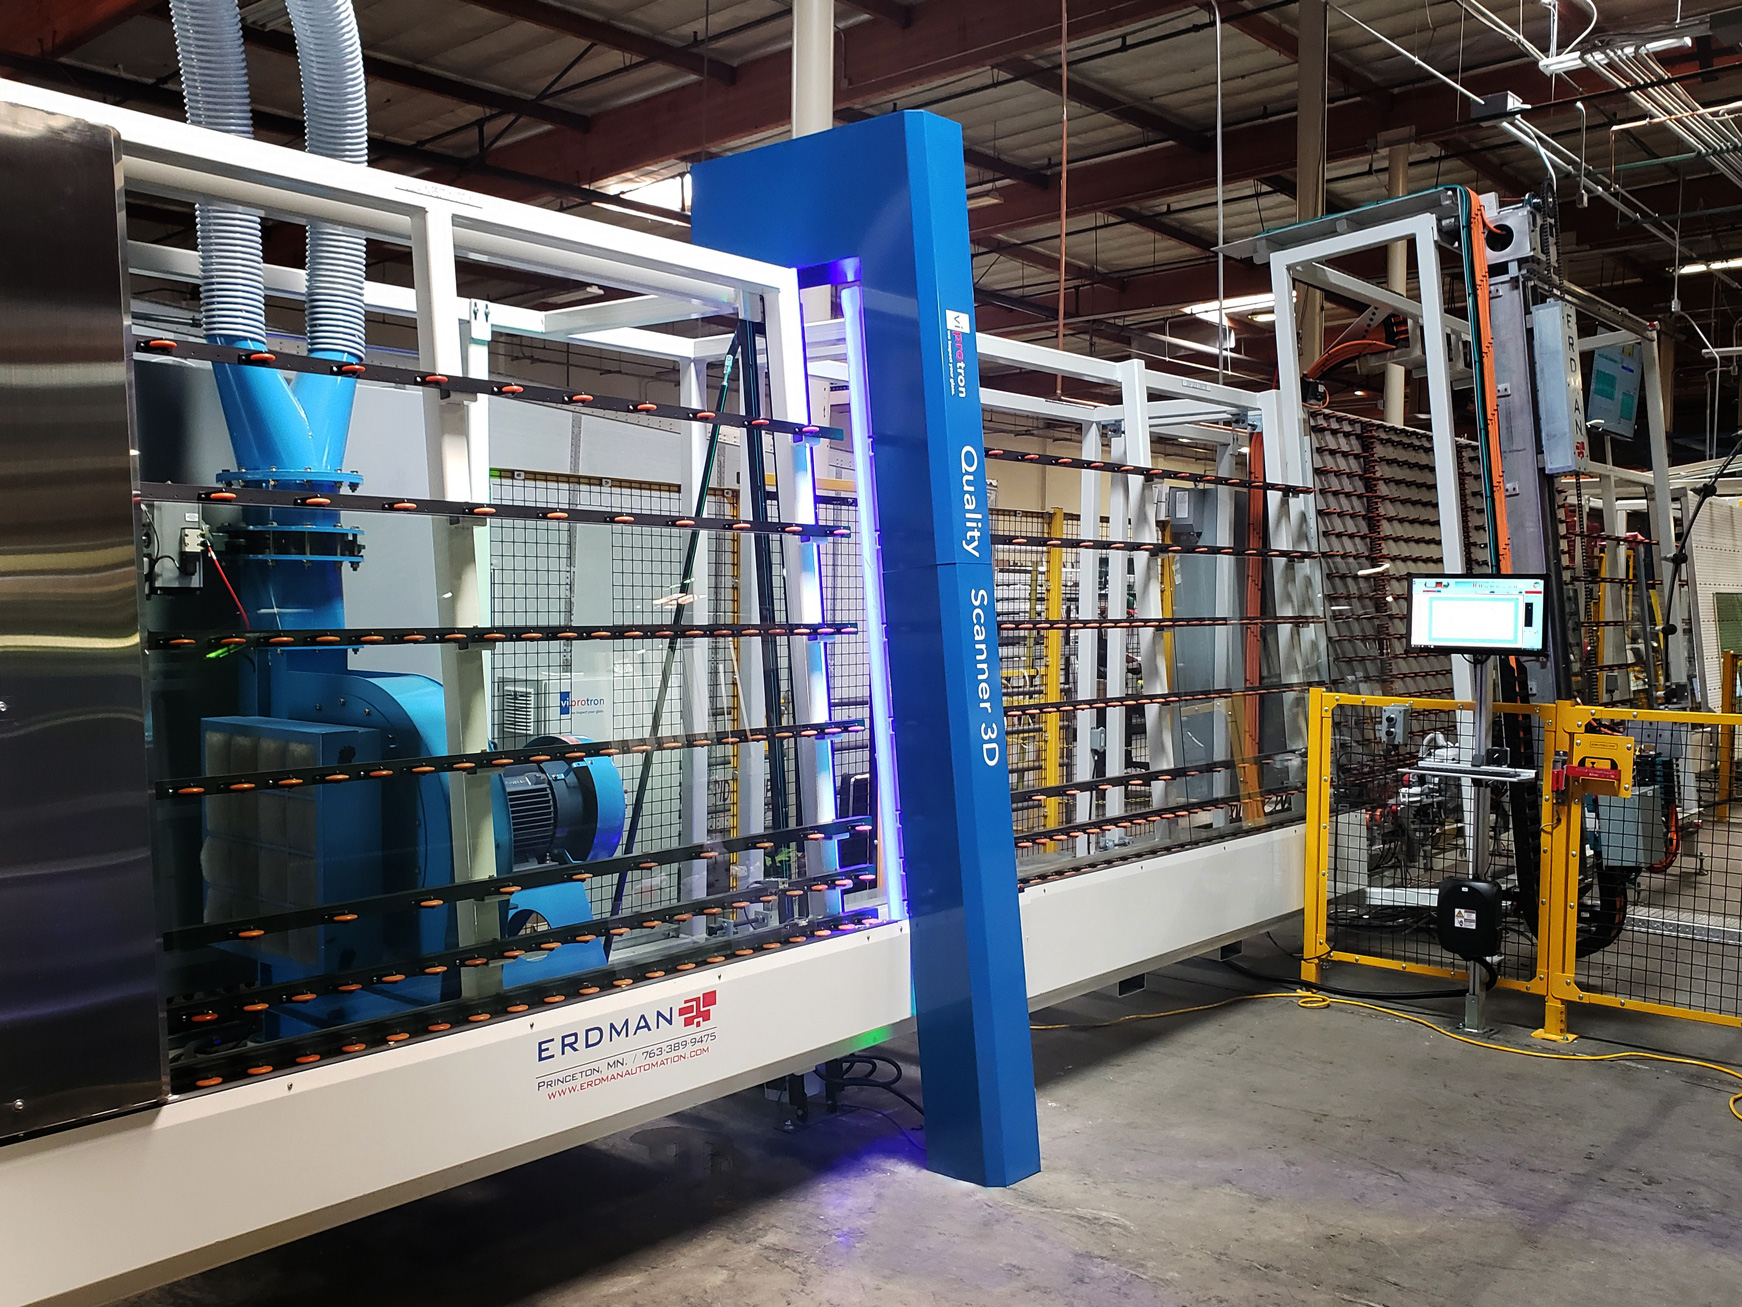
The machine consists of up to three, independently operating detection channels. Each channel scans the glass from a different angle and under different light circumstances, while it is being transported at top speed through the Quality Scanner.
It reliably detects bubbles, scratches, fine streaks and hairline scratches, at the same time it ignores dust or smallest dirt contamination.
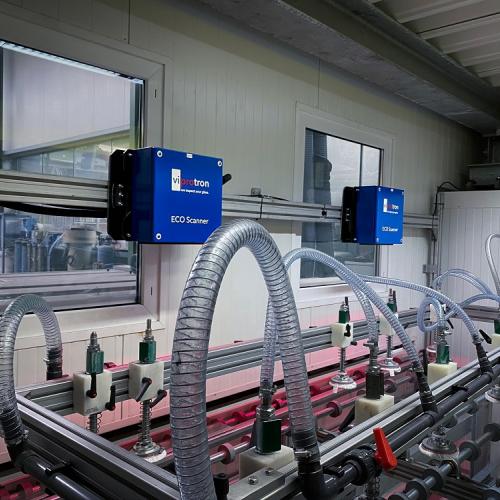
This range of performance makes the ECO Scanner ideal for the control of e.g., grinded glass directly after having passed a washer. So, it secures a good glass quality or the chance to scrap defected glass before adding more value to it.
Due to the mentioned high degree of standardization and a revolutionary working principle, a price level has become achievable, which is far below the modular Quality Scanner series. In dissected production structures, a central control of glasses is impossible. Due to the price level of the single devices, it is possible to implement quite a few scanners with a total investment still allowing a quick payback.
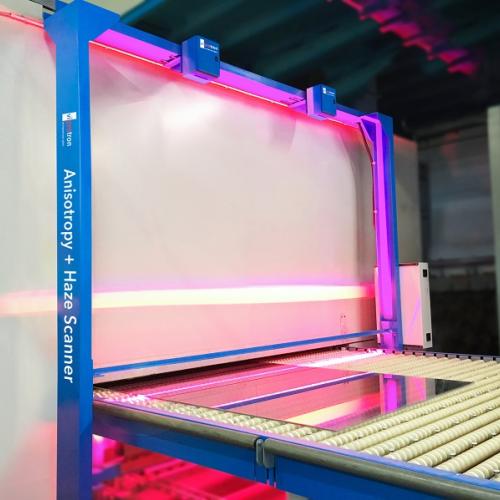
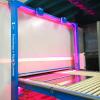
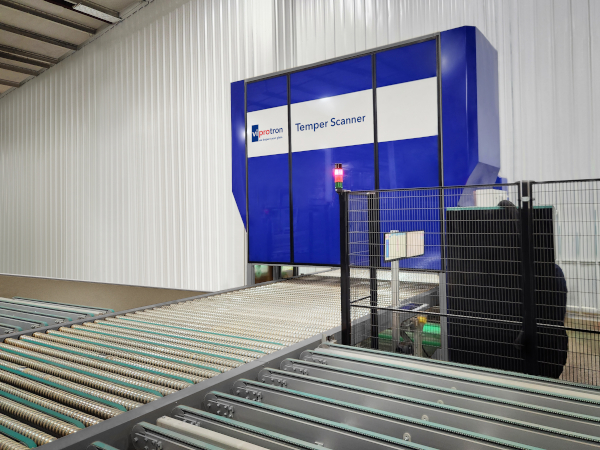
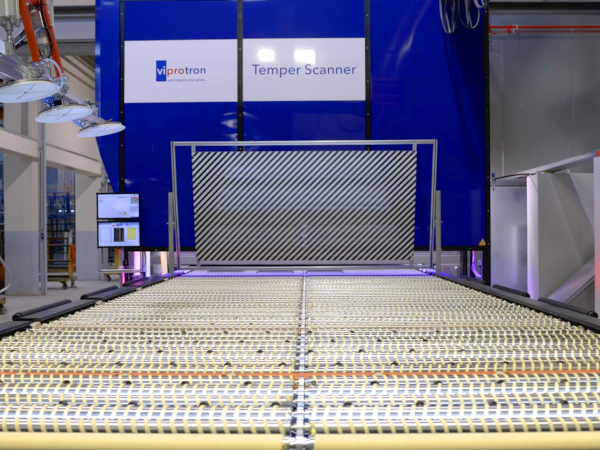
Anisotropies, also known as iridescence, present as dark circles, spots, or stripes in the glass that are visible in polarized light, from certain angles or through polarized sunglasses. The visual effect is caused by different tensions in the glass, mostly resulting from the tempering process.
As an option in addition to measuring anisotropies, the scanner can detect white haze on the glass, which can be caused by dust, rollers, or other factors in the furnace. The haze detection allows operators to know exactly where they must rework the glass to ensure a clean surface before sending it to the next processing stage or the customer.
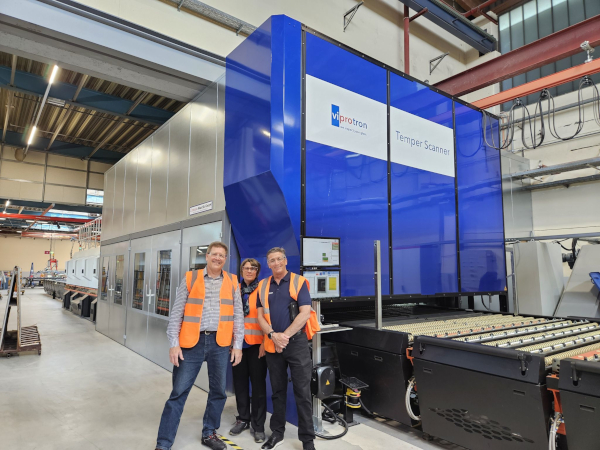
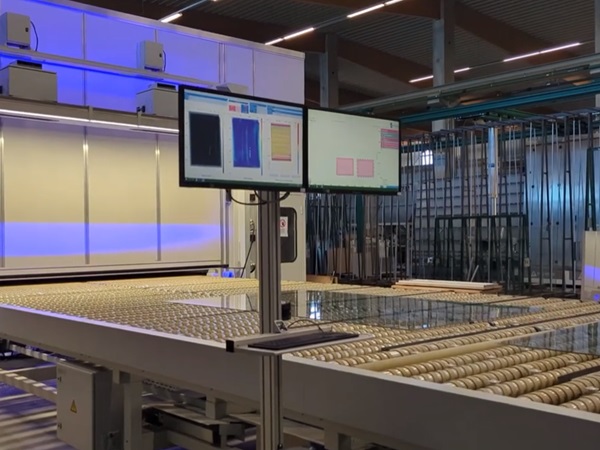
The Anisotropy Scanner is measuring without causing a production delay up to a production speed of 25 m/min. Anisotropies are visualized as a batch coming from the oven bed. Each single glass on the batch is measured and the corresponding anisotropy value is displayed and documented. So, there is a proof that the minimal target value is achieved at each glass.
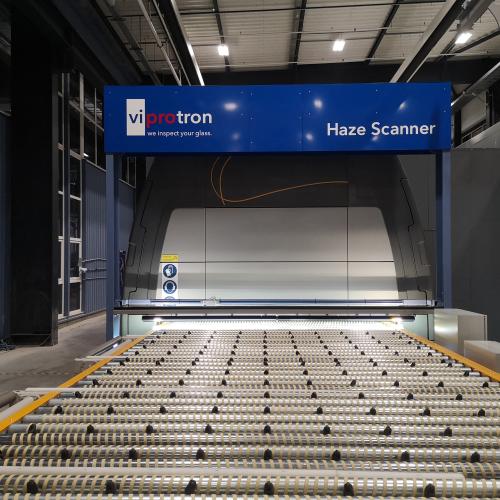
The damages are analyzed and localized in real time with their first occurrence in order to be able to polish out the defects before delivery to the customer.
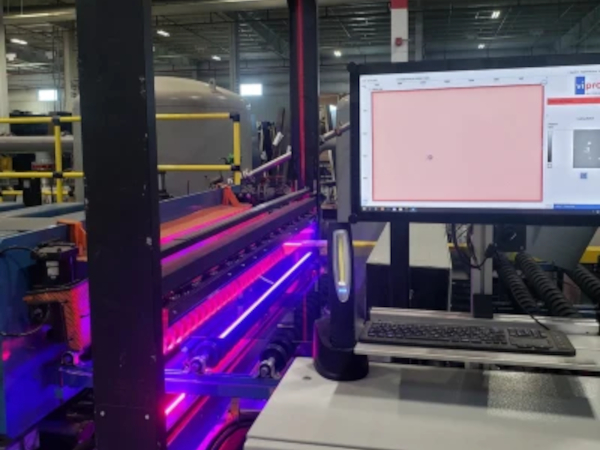
A display visualizes real photographs in b/w or even false color prints. From stand-alone systems to fully integrated ERP solutions, all options are open to you.
An effective minimization of follow-up costs due to complaints!
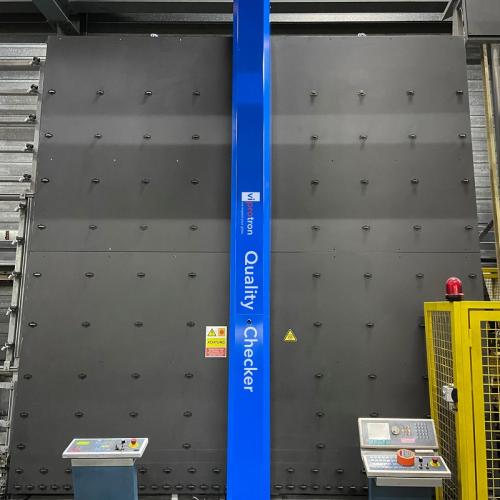
At the same time, the machine documents all quality relevant results. This efficient final quality control can be integrated within the tempered glass production as well as at the end of the insulated glass production line. This allows you to further reduce your claim costs, secures your in-time delivery and to be always prepared for the worst-case scenario.
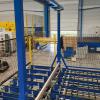
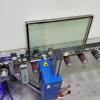
The individual adaptable Quality Checker is positioned at the end of your production line, directly behind an IG press or tempering furnace. Once it is installed, it guarantees the glass quality you desire. The scanner measures glass width and height, as well as hole positions and diameters, or the exact position of the spacers and Georgian bars – no matter if you are working at normal standards or attempting to meet a higher quality.
The speed and illumination of the device adapts automatically to the speed of your production line. Thanks to the patented telecentric illumination, the various inspection tasks can be combined perfectly. And all without production time delay.
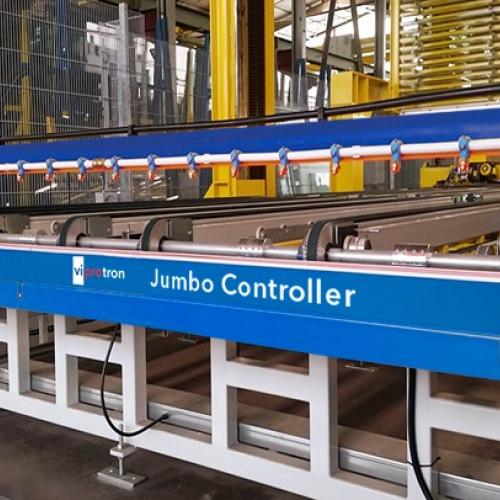
The earlier defects are detected, the better. That's why we have developed an intelligent glass scanner in the form of our Jumbo Controller, which has one outstanding advantage: when it is placed in the cutting area, any bigger defect in the glass that is certain to lead to a complaint is already identified there.
Without any ifs and buts, and without prior washing. This highly productive solution is sure to convince your controllers as well. In this way you maximize your profitability in the value chain right from the start. Cut glass with defects can be removed from production before further processing, or the off cut is positioned on glass defects in the cutting plan.
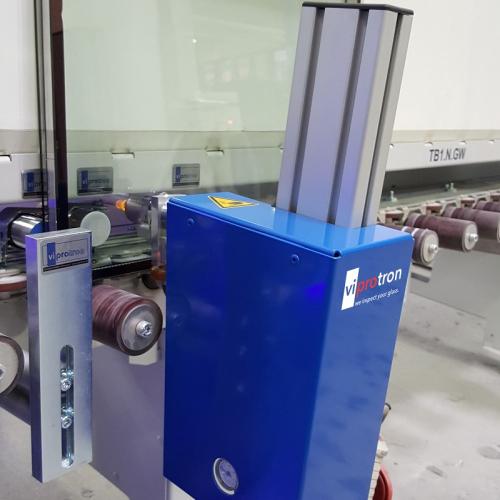
The sensor can also be used for single panes to correct wrongly positioned glass in time.
The in-line working sensor inspects both sides of the glass and operates on its own, if needed, even independently of the Quality Scanner or the Quality Checker. If the Coating Sensor detects Low-E or sun-protection layers, a light signal is given or by request a 24-Volt alarm is produced. The mentioned glass can be removed from the line.
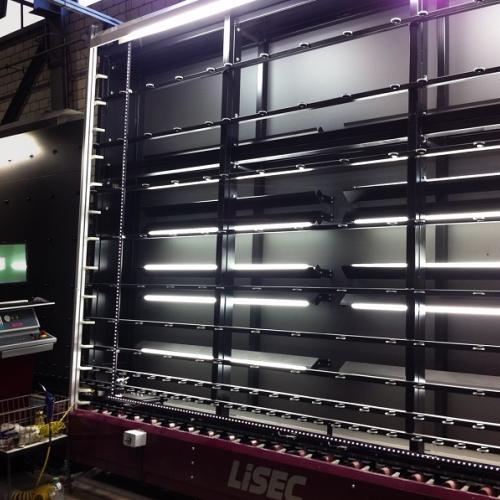
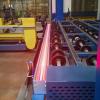
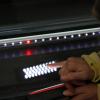
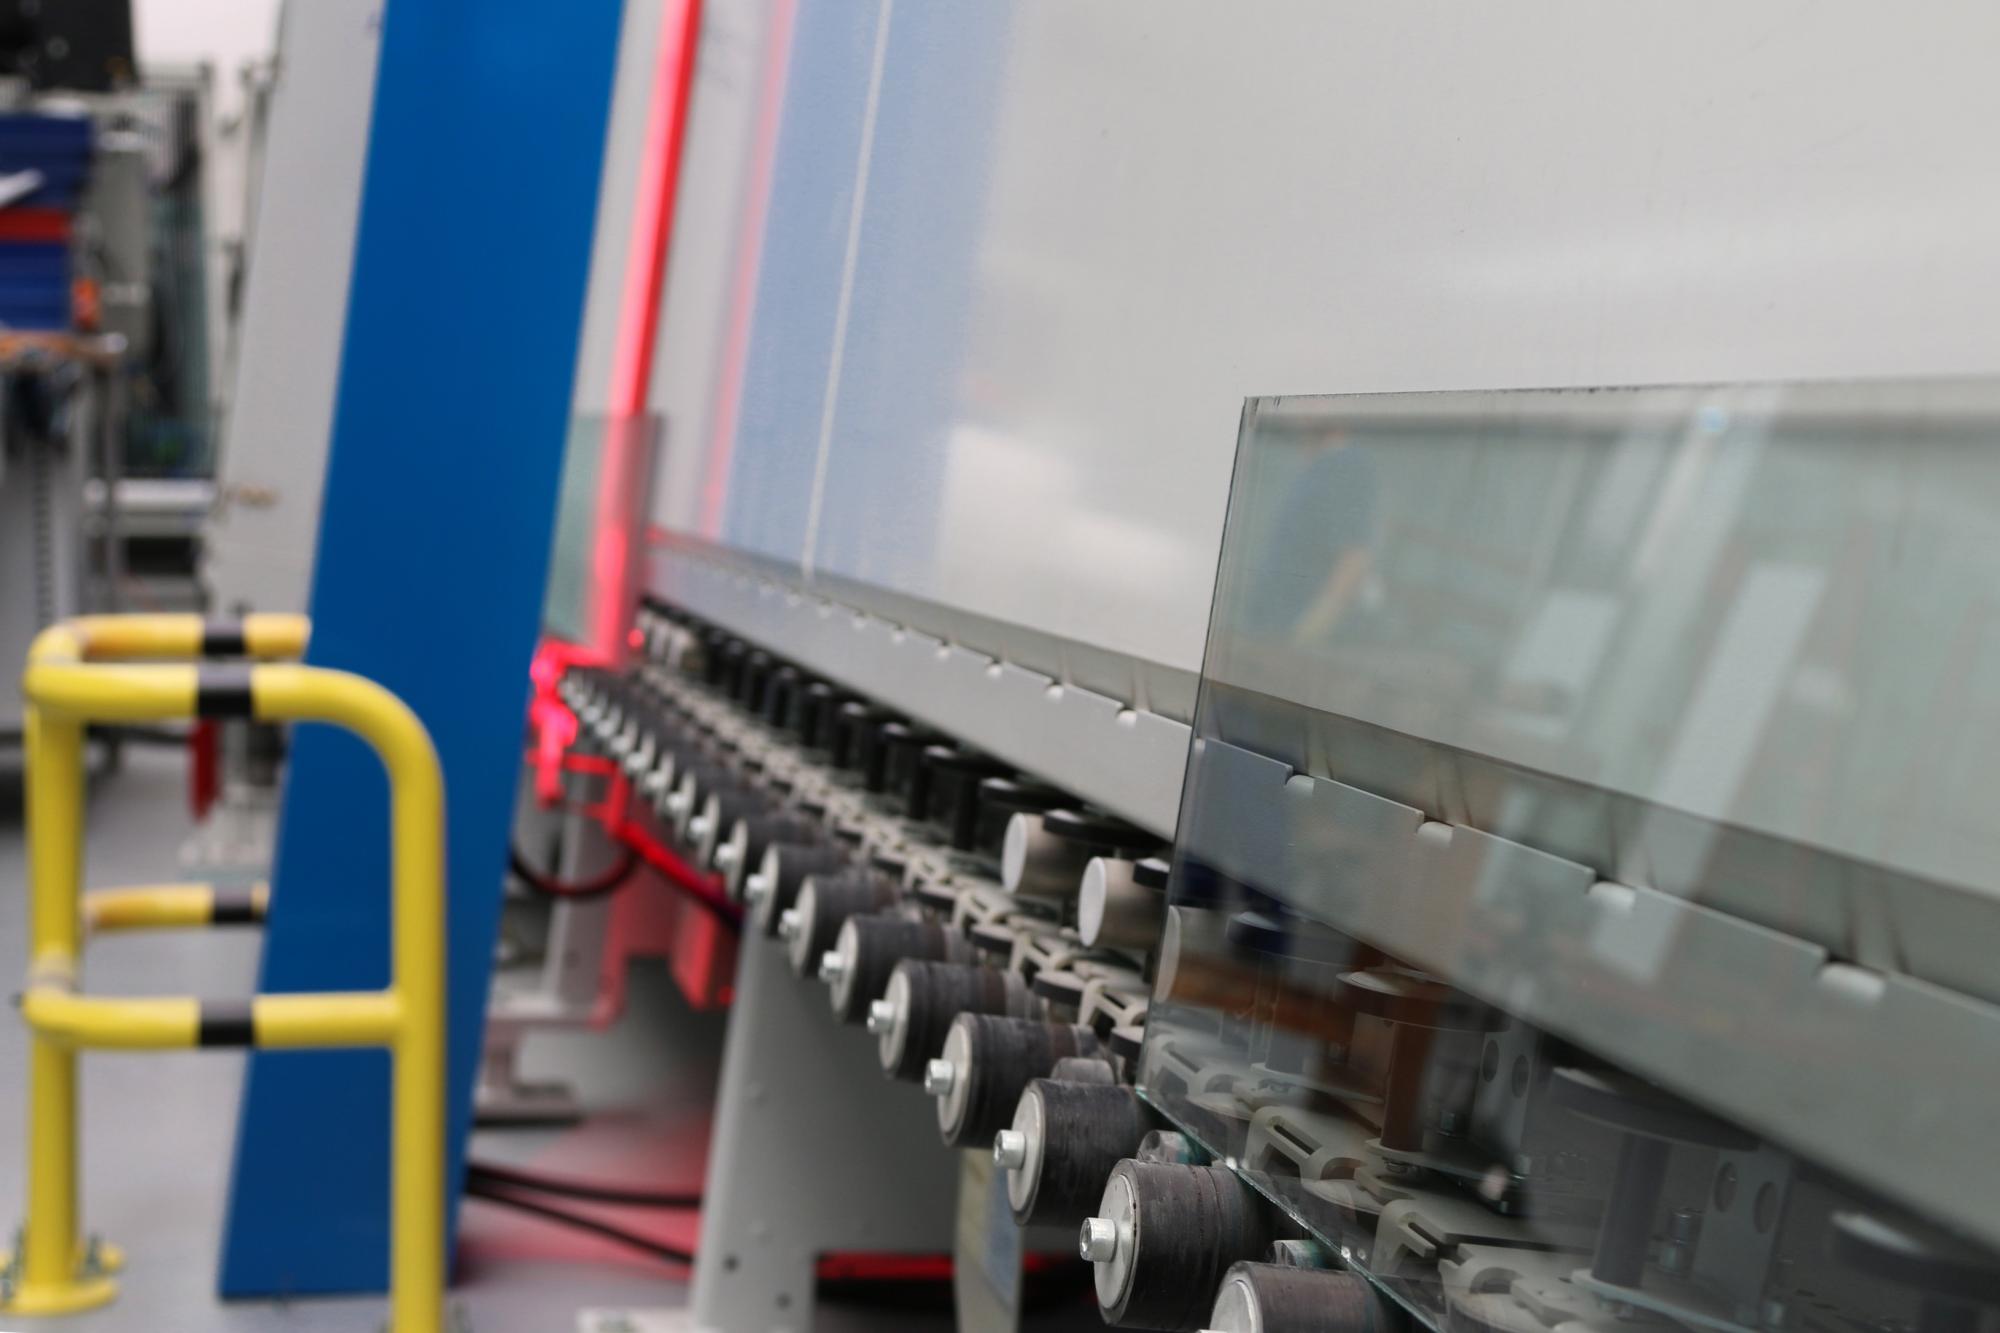
Furthermore, through the exact, visual localization of the defects, it is practically impossible for your employees to overlook the defect, as the LED-based Defect-positioning indicator is integrated directly into the inspection area.
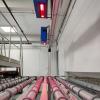
The Defect Pointer consists of two long LED strips: Horizontally and vertically arranged, the colorful LEDs show directly the area where the defect can be found. The time-consuming and risky search for the exact position of a glass defect is no longer necessary.

